I have to say that I am very happy about this project. I was a bit nervous before I started because I wasn't quite sure how this project would turn out. Just to let ya know, I am very excited to show the before and afters of my dresser overhaul. Let me start by saying this project took me a total of FIVE days. FIVE days...that's it. Who would have thought. Plus, me painting our dresser saved us a cool grand and from searching for a brand new dresser.
Here is the before photo of our dresser. Me and John bought this dresser along with the matching pieces back in 2007 when we lived in our very first apartment in OKC. It's a great dresser but we have been trying to get rid of it for a while now. Then I came up the idea to try and paint it. Thanks Aleasha Brandon for the advice on what to buy (you were right...sooo easy).
Another before shot.
The hubs helping me clear things off to get started. That mirror came off and I will be using it for another project here shortly. Just can't throw away such a nice mirror so I plan on reframing it.
We went to Home Depot and bought a few supplies. A drop cloth is a must. I painted the dresser right in our bedroom and did not want paint and such on our new carpet. Plus, it's a hundred degrees in the garage = not fun to paint in. I suggest getting a nice big one! Plus, for the glazing process we bought a big bag of cut up rags, old t-shirts and such. These were perfect for this project and pretty cheap.
We bought Behr paint. Yes, we bought TWO gallons and YES I only used about 1/4 of the first can. Owell, paint for future use right! It does have primer in it which made to project much easier. You can choose any paint color you wish we just like the off white. It was a close match to our bed and we are going for the bright and airy feeling in our room.
This glaze is what made the dresser look as fabulous as it does. Cheap and glazing is so in right now. It gives the furniture that distressed used look.
Whoever invented Sander Deglosser is AWESOME! I did not sand one part of this dresser. Thank goodness! You soak a rag in the deglosser and in small circles rub this stuff on the furniture. Let it dry and Viola! That's it. Ready to be painted. Amazing..I know! It gives it that just sanded feel so the paint will have something to hold onto.
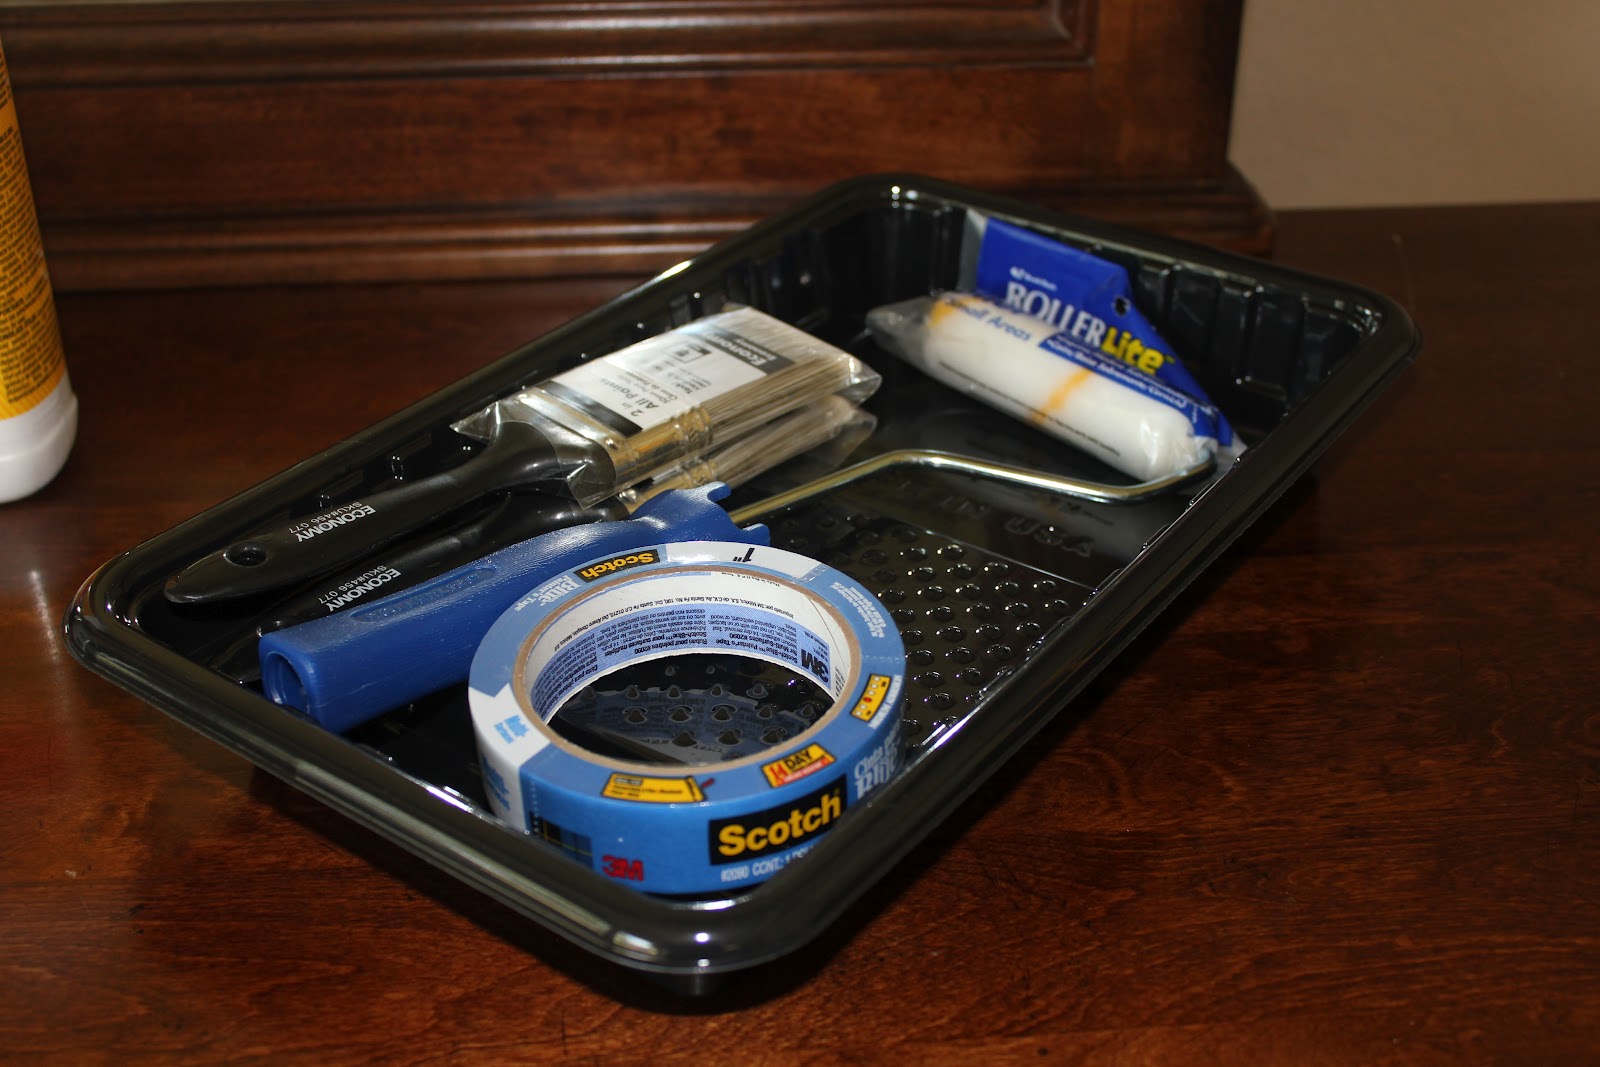
And of course, we got a couple paint brushes, cheap paint pan and painters tape. The painters tape was for the mirror that was my "let me try painting the mirror that I want to throw away anyway so I don't mess up the dresser" project. :-) Once I started the dresser it was so easy.
Before....
I decided the mirror will be thrown out or I'll just take the mirror out and use it for something later as well.
Dresser painted white. I put two coats of paint on that bad boy.
Dresser glazed. It was nice that the dresser had some digressed areas. So the glaze got down in the cracks to give it that more distressed look. You can always rough it up if ya need to though.
Final project. Seriously..who would have thought. This is something we would buy from a store. This project was neat and I feel accomplished. We have a brand new dresser. Now, onto the other dresser and mirror. What do y'all think?!